Sunday, May 8, 2011

April Travels (Part One)

At the very minimum we drove a total of 1,200 miles in April...and that's just on the weekends! We won't even get into the current gas prices and not-so-eco-friendly vehicles we drive... But you know what? It was so worth every single mile, minute, and penny! :) We got to be home for some wonderful, fun memories with our family and friends and were blessed to be a part of something very special with our precious church back home.

April 8-10 weekend: we went home so Darrin could play in the Pastor's Masters Golf Tournament that Central was hosting. We got to spend lots of QT with family, had game night with some of "the crew", and I got to go shopping with my little sisters for their prom dresses on Saturday!


Which dresses did they choose? You'll just have to keep reading to find out...

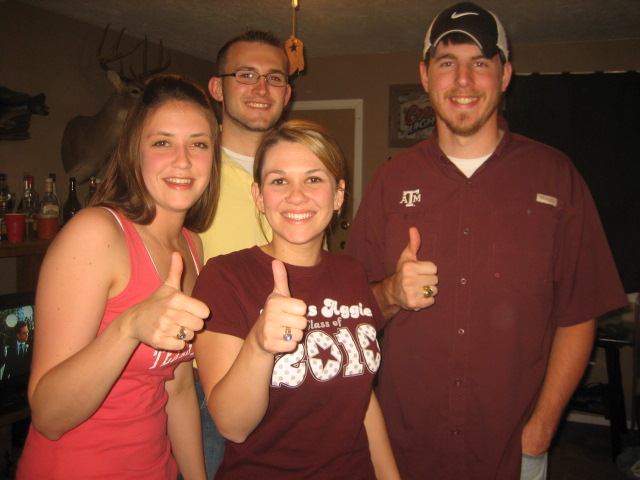
April 15-17 weekend: Chrissy's Ring Day!!! She actually already got her own post, because I was too excited I had to get the pictures up right away! Congrats again Chrissy!!!! 


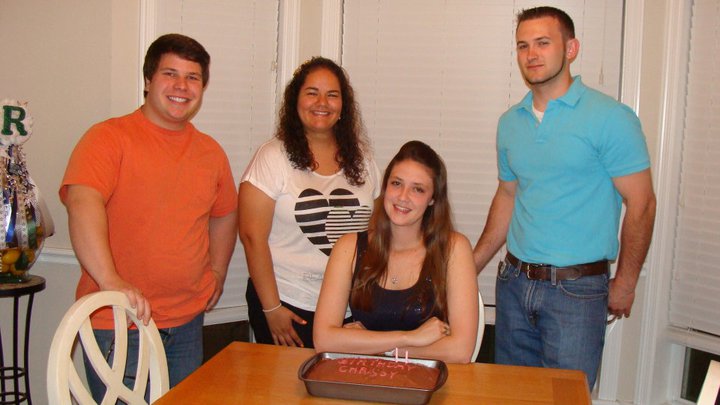
April 22-24 weekend: EASTER!!!! We got to take the afternoon of Good Friday off and head home early so we could get to "makeup" for Easter Pageant! We had a wonderful time sharing the story of Jesus' life and death and celebrating Easter with lots of family that came to town! We also got to have a little mini celebration for Chrissy's 21st birthday! We had some delicious cake with Mimi & Poppy and some of Chrissy's high school friends who came to town to help her celebrate. (These pictures keep getting out of order and I'm ready to finish this post)

In our Biblical costumes
The Pageant participants
Lampleys 
Birthday girl and family!
Chrissy and friends 
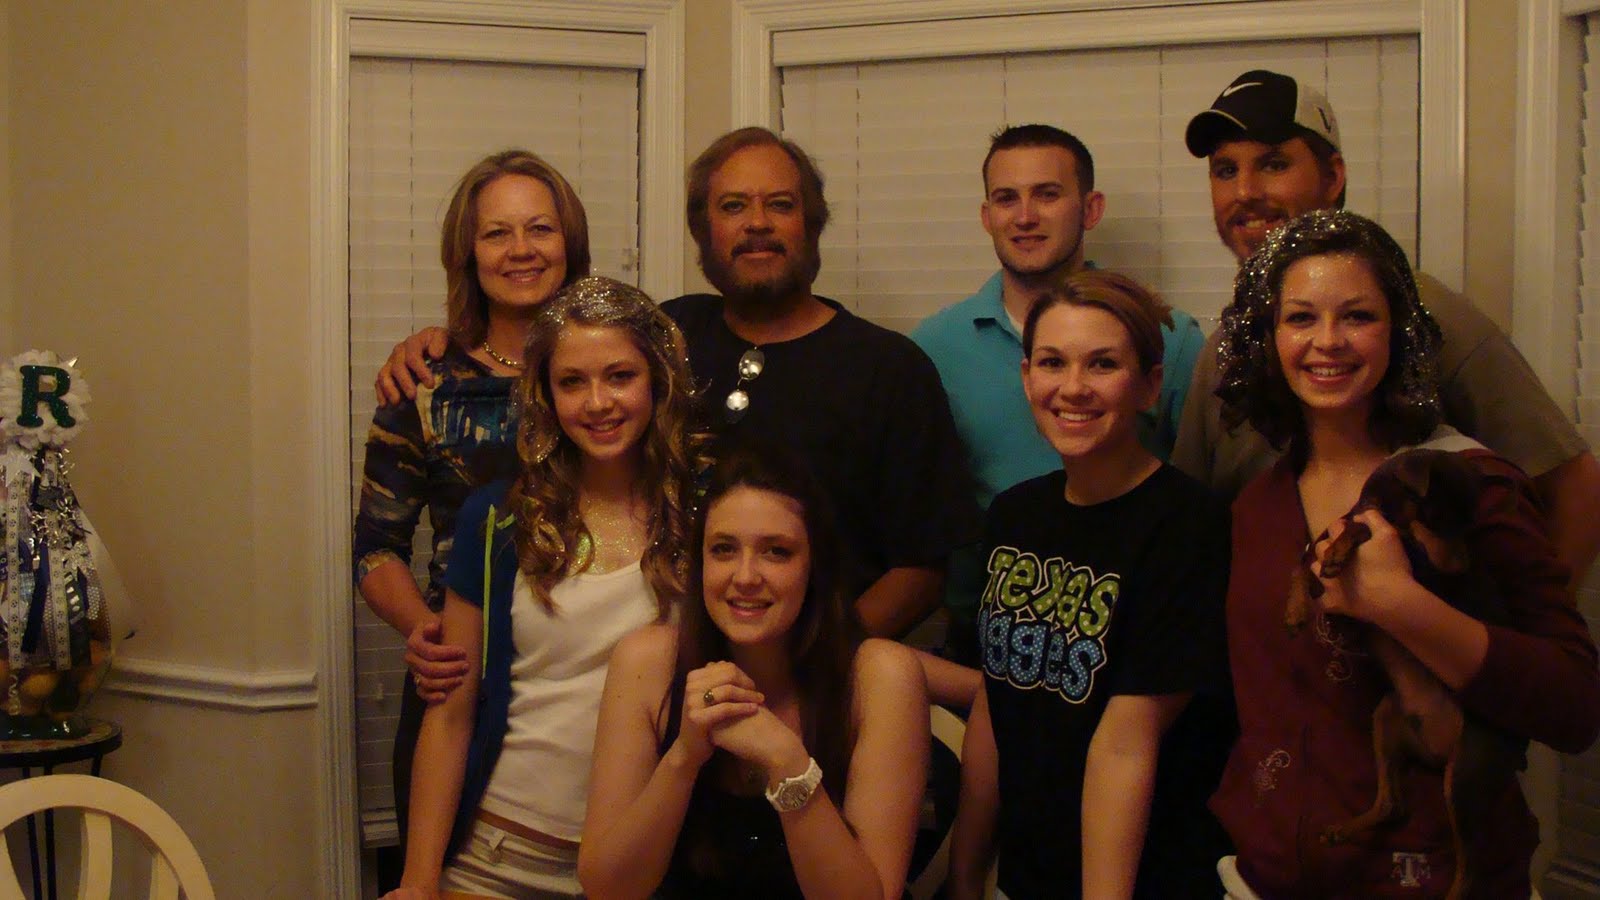
The Lampleys on Chrissy's birthday (of course Titan's in this too!)
the whole gang at pageant Friday night...
Daddy and his girls :)
To be continued....(This post is too long and the pictures aren't loading properly.)

Wednesday, April 20, 2011

WHOOP!!

Happy Ring Day to my little Kiki (more commonly known as Chrissy)! She got her shiny, blingy, totally pride-worthy Aggie ring last Friday.


We couldn't be there when she actually picked it up that afternoon, but we were there for dinner that evening to celebrate. We had a tasty meal at Olive Garden!

The fam (without us) at Ring Pick-Up

This awesome ring represents so much accomplishment and about a bajillion Aggie traditions. I'm tempted to flash back to my TC days and tell you all of them, but instead I'll just link to the Traditions Council page so you can read about them yourself!

Chrissy, Mom, Dad, Courtney, and ?? on Ring Day

Layne holding all of our family's rings, and Kaitlyn on the photography here. :)

Congrats little Sis!


Chrissy & Justin
P.S. On a non-Aggie Ring Related note: Happy 26th Wedding Anniversary to my wonderful parents and thank you for being a shining example of the perfect marriage!!! We love you! :)


Sunday, April 17, 2011

Diaper Cake How-To

{OK guys, go ahead and stop reading now...this is definitely a girly post.} 


I meant to do this a loooong time ago, but never got around to it. Now that I've received a special request for directions I think I'll just post how I made the diaper cake for Abby's baby shower back in November! :)

Materials:

  • approx. 76 newborn sized diapers (I used a total of 74 diapers but they came in packs of 38)
  • rubberbands
  • hot glue gun
  • 14" diameter cardboard cake base (a 12" would work too, but you won't have any extra base sticking out after you make it - see pictures)
  • 1 bottle of baby powder*
  • 1 baby bottle*
  • any ribbons, bows, trinkets, or baby goodies you want to decorate with

*You'll want these to be about 1.5 times in height, the width of the diapers - read on, it will make sense


1. Glue the baby powder then baby bottle on top of each other in the center of the cake base to form a "center pole".


2. Unfold the diapers (only the first fold, you'll want to keep the sides folded in still) and roll them up. Use rubber bands to secure the rolls of diapers.

3. Rubber band a layer of diapers around the baby powder base. (Tip: I started by putting the rubber band just around the powder bottle then added the diapers into that rubber band one at a time. If you try to put them all around then add the rubber band you'll get really frustrated.) There will be a total of 3 rows of diapers to the first layer and part of the baby powder will be sticking out of the top in the center.


adding the diapers into the rubber band one at a time


Level one - complete!

4. Do the same thing on the second level of diapers, only this time there will be just 2 rows of diapers. When complete you will have about half of the bottle sticking out of the diapers.

level two - complete!


5. For the last layer, I first wrapped a diaper that was not rolled up around the top of the bottle and attached it with a rubber band. It just helped the last row of diapers stand up easier. Then follow step 3 and do one row of diapers.


Level three & the cake itself - complete!

6. Decorate however you see fit. I added some ribbon (helps to hide the rubber bands), teething rings, bows, pacifiers, and baby spoons. I also put bath toys on top and feathers just for fun! (Just remember not to use glue on anything that is intended to actually be used for the baby later!) :) You can always Google "Diaper cake" images to get ideas for how to decorate!


To Emma with Love!!!
Happy Cake Building!!!